


Open TrailLink, Komoot, or Ride with GPS, drop a pin on your location, and filter by surface and distance. That’s the fastest route to a rideable local trail today. Each tool pulls from thousands of mapped trails and lets you sort by pavement type, mileage, and elevation gain before you ever load your bike.
If you want the quickest win, search “rail-trail” plus your city or county. Rail-trails are old railroad corridors converted to flat, wide, paved paths, and nearly every metro area in the country has at least one within a short drive.
Three tools worth opening right now:
- TrailLink — the largest searchable trail database, strong for rail-trails and surface data.
- Komoot — automatically detects surface type and elevation, good for gravel and mixed routes.
- Ride with GPS — best for exporting routes and building custom cue sheets.
Key Takeaways
Finding a bicycle trail nearby comes down to using the right app to filter by surface and distance, then verifying access details on the official park page before you ride.
| Point | Details |
|---|---|
| Start with the right tool | Use TrailLink for paved rail-trails, Komoot for surface detection, Ride with GPS for exports. |
| Match bike to trail type | Road bikes suit paved greenways and urban loops; gravel and mountain bikes handle rough surfaces. |
| Verify with official maps | Confirm parking, permits, and closures on the state or city park page, not just an app listing. |
| Prepare before you ride | Export your GPX, pack a repair kit, and download offline maps for rural stretches. |
| Build local knowledge through community | Socalcycling’s group ride and event resources help you learn routes faster than solo app searches. |
Table of Contents
- Trail Types and Which Rider Each One Fits
- Notable Trail Examples Worth Checking Out
- Planning Your Ride: A Pre-Trail Checklist
- How to Read Trail Maps and Export a Route
- Safety and Common Trail Hazards
- Best Times of Year to Ride Local Trails
- Permits, Fees, and Rules for Local Trail Use
- Sources
Trail Types and Which Rider Each One Fits
Nearby trails generally fall into four categories, and matching your bike and skill level to the right one keeps a ride from turning into a slog.
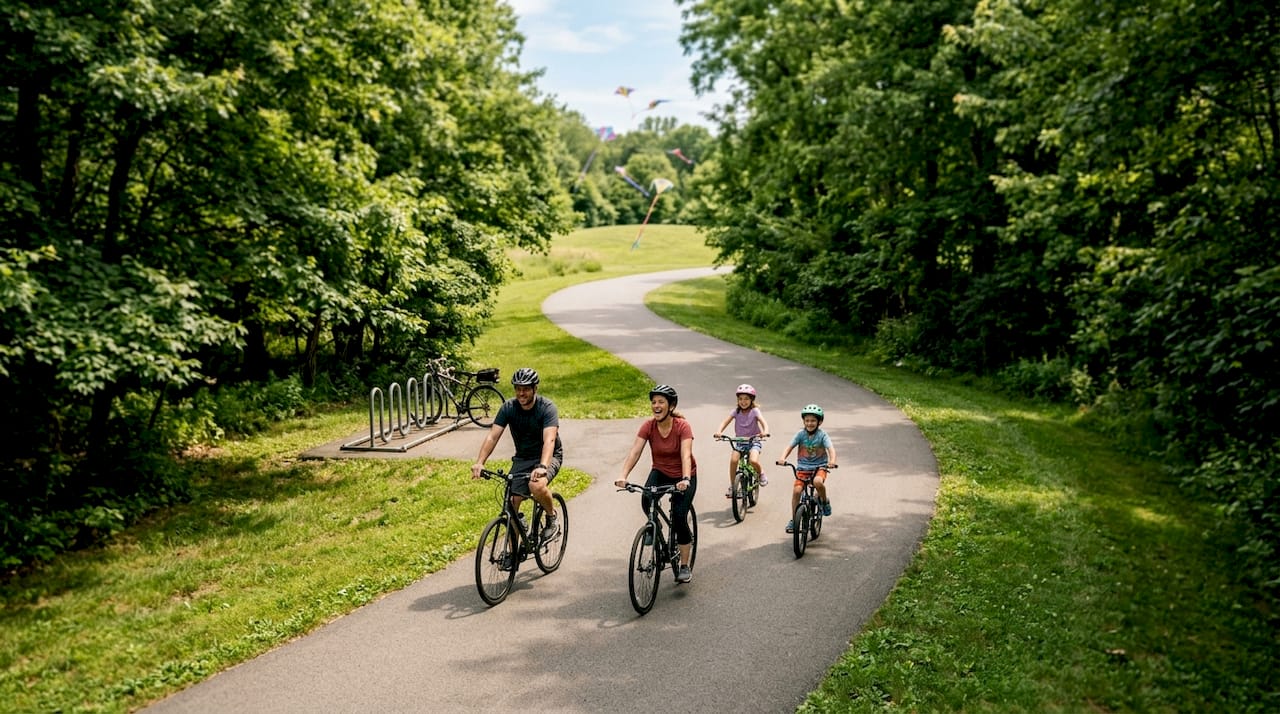
Paved greenways and rail-trails run flat and wide, often converted from old railroad beds, with mile markers and small-town access points along the way. These fit families, beginners, and anyone on a hybrid or road bike with 28mm or wider tires. Expect steady pacing and minimal elevation change, which makes 20 to 40 mile days realistic even for casual riders.
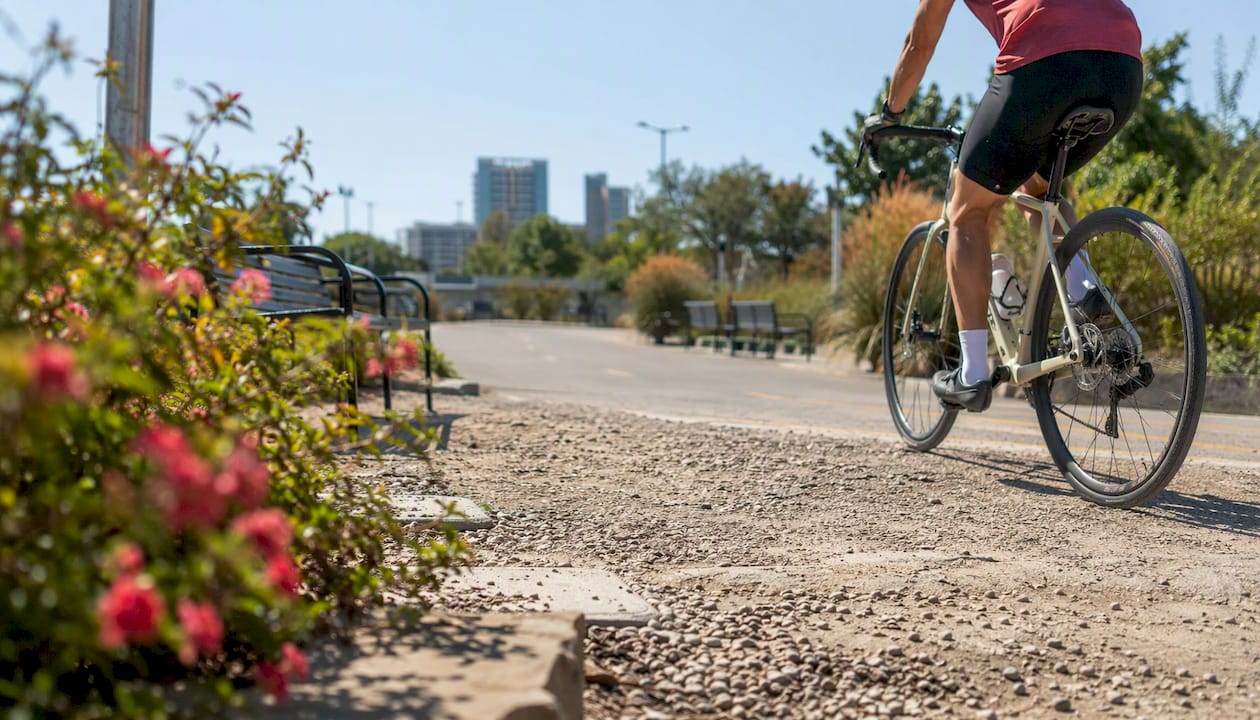
Urban loops stitch together multiple shorter paved or crushed-stone paths into a longer connected circuit through a city or county. They suit commuters and fitness riders who want mileage without leaving town, and most work fine on a road or hybrid bike, though a few segments may cross gravel or unpaved connectors.
Gravel roads cover everything from smooth crushed limestone to chunky, rutted farm roads. These call for a gravel bike with 38mm to 45mm tires, sometimes wider depending on terrain. Distance and pacing shift here too. A 30 mile gravel day takes noticeably longer than the same distance on pavement.
Singletrack is narrow, technical, and built for mountain bikes with knobby tires and real suspension travel. It’s the category for experienced riders comfortable with roots, drops, and tight turns, and it’s not the place to bring a road bike or a first-timer.
- Paved greenway/rail-trail: beginners, families, road or hybrid bikes.
- Urban loop: commuters, fitness riders, road or hybrid bikes.
- Gravel roads: gravel or adventure bikes, intermediate riders.
- Singletrack: mountain bikes, experienced or technical riders.
Notable Trail Examples Worth Checking Out
Seeing how these categories play out on real trails makes the distinctions easier to picture.
The Fred Meijer White Pine Trail State Park in Michigan is the state’s longest paved trail, stretching nearly 92 miles through small towns and open countryside. It’s a textbook rail-trail. Wide, flat, and dotted with access points, so you can ride two miles or twenty depending on your day.
That extensive length puts White Pine in a small category of American rail-trails long enough to support multi-day riding, not just an afternoon loop.
The Arlington Loop in Virginia shows what an urban loop looks like in practice. Arlington County maintains roughly 49 miles of paved, multi-use trails, and the Loop itself is formed by connecting several of those regional trails into one continuous circuit through the county. It’s a strong example of how a city can turn scattered path segments into a genuine long-ride option without ever leaving urban limits.
Around Gettysburg, Pennsylvania, the North Gettysburg Area Trail System covers a smaller local network, but the real draw is what surrounds it: miles of quiet backroads through Gettysburg National Military Park, ideal for road or gravel riders who want history and low-traffic pavement in the same ride.
- Fred Meijer White Pine Trail: nearly 92 miles, paved, small-town access.
- Arlington Loop: roughly 49 miles of connected paved trail countywide.
- North Gettysburg Area Trail System: compact local network plus extensive nearby road routes.
For readers closer to California, regional route examples show similar variety across paved, gravel, and mixed terrain.
Planning Your Ride: A Pre-Trail Checklist
A little prep turns a maybe-ride into a confirmed one. Run through this before you leave the driveway.
- Save or export your route. Pull the GPX file from TrailLink, Komoot, or Ride with GPS and load it onto your phone or bike computer, and check for any recent condition notes on the trail’s page.
- Confirm trailhead logistics. Check parking availability, restroom locations, and the nearest place to refill water or grab food along the way.
- Set your distance and time budget. Build in a bailout point if you’re new to the trail, and leave enough daylight margin that a flat tire doesn’t turn into a ride home in the dark.
- Pack the essentials. Spare tube, mini pump or CO2, multi-tool, and a phone with offline maps downloaded in case cell service drops on a rural stretch. Tell someone your route and expected return time.
Pro Tip: Download your route’s map for offline use before you leave home. Rural rail-trails and backroad gravel routes often run through dead zones, and an offline map is the difference between a minor detour and a real problem.
How to Read Trail Maps and Export a Route
Once you’ve picked a trail, a few minutes inside the app saves you from surprises on the road.
- Apply surface and difficulty filters first. Both Komoot and TrailLink let you narrow results by pavement type and elevation profile, so you’re not discovering a gravel climb halfway through what you thought was a flat ride.
- Read the elevation and surface labels closely. A route listed as “mixed surface” can mean smooth crushed stone or loose rock, so check user comments or photos when the description is vague.
- Export the GPX file and import it to your device. Most bike computers, from Garmin to Wahoo, accept a direct GPX upload, and phone apps like Ride with GPS sync routes automatically once you’re logged in.
- Trust the official park map over user-contributed segments when they conflict. A city or state trail authority updates closures and reroutes faster than crowdsourced app data, so when the two disagree, go with the park’s own page. Reviewing official event course maps reinforces the same habit: always verify against the source that manages the ground you’re riding on.
Safety and Common Trail Hazards
Most falls on local trails come from surface problems, not traffic, so scanning the pavement ahead matters as much as watching for cars.
NHTSA’s bicycle safety guidance centers on predictable riding: stay with the flow of traffic, use clear hand signals well before you turn, and never assume a driver has seen you. That principle carries over to multi-use trails, where pedestrians and other riders need the same advance warning.
Surface hazards cause more sudden spills on local trails than traffic does, which is why scanning the path ahead is as important as watching for cars.
- Cross railroad tracks and metal grates at a 90-degree angle to avoid your wheel catching in the groove.
- Scan 15 to 20 feet ahead for potholes, gravel patches, and broken pavement, especially on older rail-trails.
- In group rides, call out hazards loudly and point at debris, glass, or opening car doors so riders behind you have time to react.
- Wear a helmet and add visibility gear on trails that cross road intersections, even ones with marked crosswalks.
- If a section turns muddy, washed out, or unexpectedly technical for your bike, backtrack or reroute rather than pushing through.
Best Times of Year to Ride Local Trails
Trail conditions shift more with the seasons than most riders expect, and timing your rides around them keeps things comfortable instead of miserable.
Spring brings the trickiest conditions on unpaved trails. Thawing ground turns gravel and dirt sections soft and rutted, and riding them too early in the season can leave lasting damage to the trail surface itself. Paved rail-trails and urban loops handle spring moisture fine, so they’re the safer bet until gravel routes firm back up.
Summer is peak season almost everywhere, but early morning or evening rides beat midday heat, especially on shadeless converted rail corridors like longer paved trails. Carry more water than you think you need. Long paved stretches with limited tree cover heat up fast by midafternoon.
Fall is arguably the best all-around window. Cooler temperatures, firm gravel surfaces, and fewer crowds on popular urban loops make September and October prime riding months in most regions.
Winter narrows your options to whatever stays cleared or dry. Paved greenways in milder climates remain rideable year-round, while gravel and singletrack often go dormant until spring thaw completes. Checking a trail’s official page before a winter ride is worth the extra minute, since plowing and maintenance schedules vary widely by municipality.
Permits, Fees, and Rules for Local Trail Use
Most local bike trails are free and open to the public, but that’s not universal, and assuming otherwise can lead to a surprise ticket or towed car.
State park trails sometimes require a day-use vehicle permit or annual parks pass, even when the trail itself has no separate fee. This is worth checking directly on the managing agency’s page rather than relying on an app listing, since permit requirements don’t always show up in third-party trail databases.
City and county trails are typically fee-free but carry usage rules: leashed dogs only, no motorized vehicles beyond e-bikes in some jurisdictions, and posted hours in parks that close at dusk. A handful of trails restrict certain segments to pedestrians only during peak hours, so a quick glance at posted signage or the trail’s official page prevents an awkward conflict with other users.
Multi-use trails built on former rail corridors sometimes cross private property easements, and staying on the marked path isn’t just courtesy. It’s often a legal condition of the trail’s existence. When in doubt, local parks and trail authority pages remain the most reliable source for exactly what’s allowed on a given stretch.
What Local Route Knowledge Actually Comes From
The best local trail intel rarely comes from an app alone. It comes from riders who’ve already logged the miles.
Joining a weekly shop ride or a local cycling club puts you on routes that longtime riders have already vetted for surface quality, traffic, and seasonal quirks that no map conveys. A guide to finding a cycling group nearby is a practical starting point if you’re new to an area and want that kind of real-time knowledge faster than trial and error would give you.
Socalcycling has spent years covering road, gravel, and mountain biking communities across Southern California and beyond, and one consistent pattern holds up everywhere: riders who show up to group rides learn more about local trail conditions in a single Saturday than weeks of solo app scrolling.
Where to Go After You’ve Found Your Trail
Local trail apps get you to the trailhead, but they don’t tell you where the community is riding this weekend or which events are worth building your season around. That’s the gap Socalcycling fills. It’s not a trail database, it’s the layer on top of one, connecting you to real rides, real routes, and real people once you’ve already found your path.

Browse real examples of weekend group rides to see how other cyclists are turning nearby trails into standing weekly traditions, or check the cyclocross race calendar if you’re ready to move from solo trail rides toward organized events. Start on the Socalcycling homepage to see what’s happening in the cycling community near you this week.
Sources
Not every tool fits every ride, and knowing which one to open saves you from showing up at a trailhead that doesn’t match your bike.
- Fred Meijer White Pine Trail State Park | Michigan recreation.gov
- Arlington off-street trails | Arlington County Parks & Recreation
- Cycling around Gettysburg | Komoot guide
- Bicycle safety | NHTSA
Before committing to any trail, run it through a quick filter: surface type, one-way distance, total elevation gain, and whether e-bikes or equestrians share the path.
Pro Tip: Cross-reference one app listing with the managing park’s own website before you drive out. Apps sometimes lag behind on closures or reroutes, but a state or city parks page usually gets updated the same day.
Recommended
- Find a Cycling Group Near Me: Your 2026 Guide
- How to Find Gravel Races Near Me in 2026
- California Cycling Route Examples for Every Terrain