

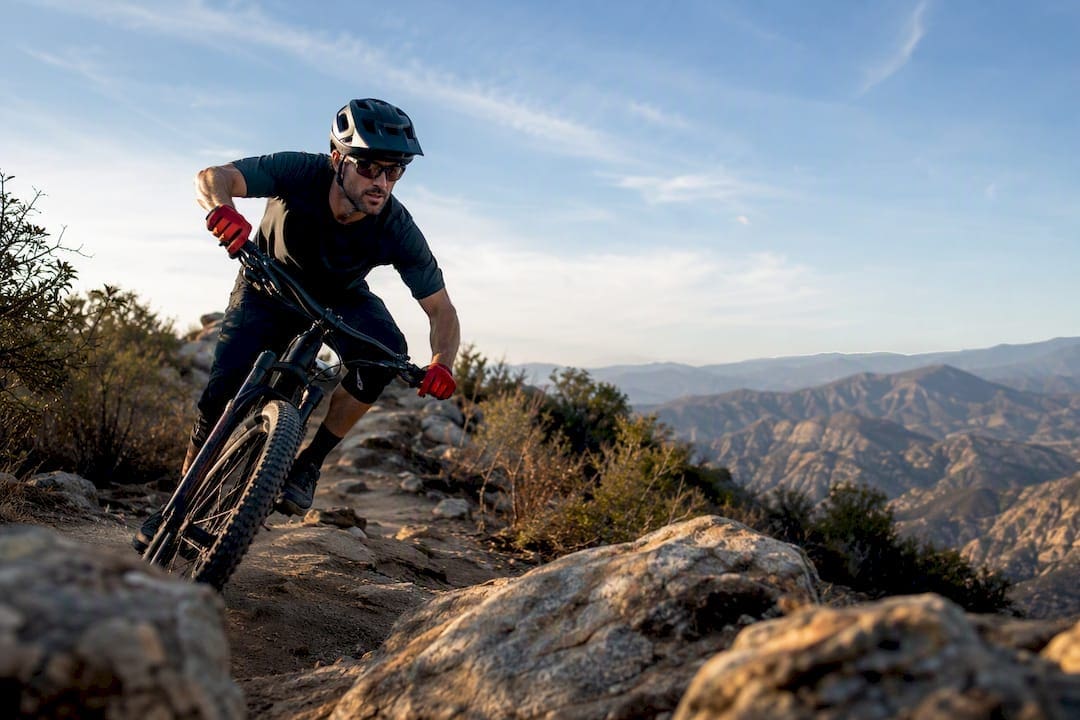
The fastest route to a good ride is a trail database, not a search engine. Open Trailforks or MTB Project, filter by difficulty, and a 15 to 20-mile radius, then check the condition reports posted in the last two weeks. If those reports look thin, widen the search and cross-check with a local club post before you load the truck. Riding somewhere remote? Export the GPX file or enable offline maps before you lose signal.
TL;DR:
- Ensuring recent condition reports and cross-checking trail maps with Strava activity help confirm trail quality and current accessibility before riding.
- Recognizing that trail difficulty varies widely by feature and region, with technical features like rock gardens and drops indicating advanced terrain regardless of color codes.
- Verifying trail rules, closures, and permits with official park websites and local groups avoids wasting time due to outdated information.
- Preparing essential gear and checking parking, fuel, and maintenance needs ensures safety and comfort during multi-hour or overnight rides.
- Consulting local riders, shops, and volunteer trail associations provides valuable real-time beta on reroutes, hazards, and closures that apps may not reflect quickly.
Table of Contents
- Which Local Mountain Bike Paths Fit Your Skill Level?
- Which Apps Show the Best Nearby Cycling Trails?
- How Do You Judge a Trail’s Real Difficulty?
- Where Do You Confirm Trail Rules and Closures?
- What Should You Pack and Plan Before You Ride?
- How Do You Get Trail Beta From Local Riders?
- How Does Socalcycling Verify Trail Information?
- How Would You Plan a Weekend Ride Near You?
- Sources
Which Local Mountain Bike Paths Fit Your Skill Level?
Not every trail near you deserves the same tires or the same nerve. Beginner terrain means smooth, well-graded singletrack with predictable turns and no exposure. Intermediate riding introduces roots, moderate climbs, and short technical sections that reward good bike handling. Advanced trails bring sustained technical features: rock gardens, drops, steep chutes, and terrain where a mistake actually costs you.
Here’s how that breaks down on the ground:
- Beginner: Flow loops and rail trails with wide, packed surfaces. These reward pedaling fitness over technical skill, which makes them the right call for a first outing on unfamiliar ground.
- Intermediate: Rolling singletrack with switchbacks, small drops, and log-overs. This is where most riders spend the bulk of their mileage once they’re comfortable off pavement.
- Advanced: Technical singletrack and dedicated freeride zones, like the Vortex quarry at Santos in Florida, where the man-made drops run up to roughly 20 feet. That’s not a place to test new skills. It’s a place to arrive already sharp.
Before committing to any option, pull up the route length and elevation profile. A 12-mile loop with 2,000 feet of climbing rides nothing like a flat 12-mile loop, even if both get labeled “intermediate” on a map.
Which Apps Show the Best Nearby Cycling Trails?
Three tools do most of the heavy lifting, and each does something the others don’t. Trailforks pulls community-sourced condition reports, lets you filter by difficulty, and exports GPX files for offline navigation. It’s the closest thing mountain biking has to a living trail encyclopedia. MTB Project leans into curated, top-rated routes with rider photos and elevation charts, which makes it easier to gut-check whether a trail actually matches its listed rating.
Strava’s heatmap adds a layer neither app covers well: usage density. A trail that shows up faint or broken on the heatmap is often overgrown, rerouted, or simply abandoned, according to riders who rely on the heatmap to vet routes before committing to them.
To turn any of these into a real ride plan, consider expanding your search to nearby urban trail networks like the best bike paths in Los Angeles.
- Set your search radius to 30 to 50 miles, since expanding beyond your immediate zip code usually surfaces better-maintained networks than whatever sits closest to home.
- Cross-reference a trail’s Trailforks listing against its Strava heatmap before driving out.
- Download the GPX file and load it into a dedicated GPS unit or offline map app as backup.
Pro Tip: Check the date stamp on the most recent trail photo before you go. A listing with fresh photos from last week tells you far more about current conditions than the trail description ever will.
How Do You Judge a Trail’s Real Difficulty?
Color codes lie more often than riders expect. A green trail in one county can ride harder than a blue trail in another, because there’s no universal grading body enforcing consistency across parks and regions. The features on the ground matter more than the label attached to them.
Look for these specific elements when a listing gets vague:
- Read the feature list first. Drops, rock gardens, narrow ridgelines, and exposed sections change a trail’s real difficulty more than its color ever will.
- Check the elevation profile. A jagged, spiky chart usually means punchy climbs and technical descents, even on a trail rated moderate.
- Scan recent photos and comments. MTB Project’s trail pages often show rider-submitted shots of the gnarliest sections, which tells you more than a written description.
- Note directionality and exposure. Some trails run one way only, and some feature ledges or thin lines with real fall consequences. Both details usually sit buried in the comments, not the summary.
Where Do You Confirm Trail Rules and Closures?
Trail listings go stale. Official park pages, trail association websites, and app-based condition reports stay current, and checking at least one of them before you drive out saves a wasted trip. Local Facebook groups and club forums often post closures faster than official channels do, especially after storms.
Confirm these details before you load the bike:
- Permitted uses: hiking, equestrian, and e-bike access rules vary by trail and sometimes by season.
- Directionality: some singletrack networks run one way to prevent head-on collisions.
- Seasonal closures: wet-weather closures protect trail surfaces from erosion and are common after heavy rain.
- Parking, permits, dog policies, and posted hours, since arriving to a locked gate wastes your whole morning.
What Should You Pack and Plan Before You Ride?
A good trail near you is only useful if you can actually park, fuel up, and fix a flat once you’re out there. Before you leave, verify parking capacity and whether a shop or rental counter sits near the trailhead. Larger systems often build this infrastructure right in. Santos Trailhead & Campground in Florida runs more than 80 miles of singletrack alongside a 23-site campground, which means riders can rent gear, camp overnight, and ride multiple days without ever leaving the property. That on-site model is worth seeking out if you’re planning a weekend trip rather than a single afternoon loop.
Pack list before any ride:
- Water, a tube or plug kit, a mini pump, and a multitool.
- A charged phone with the GPX file loaded and offline maps enabled.
- A basic first-aid kit and a way to signal for help if you’re riding solo.
Suspension needs attention too. Fork and shock seals typically need a basic service around every 50 hours of riding, with a fuller rebuild closer to 250 hours. Skipping that maintenance is how small problems turn into a long walk out.
How Do You Get Trail Beta From Local Riders?
Local bike shops post trail conditions on bulletin boards and know which sections just got rerouted. Volunteer trail associations often maintain the singletrack directly and can confirm closures faster than any app update cycle.
A few ways to tap that network:
- Ask a shop employee which loop they rode this week, not which loop they recommend in general.
- Check community forums where riders swap current beta on washouts and reroutes.
- Join a group ride once, since regulars usually know every shortcut and hazard on their home trail.
How Does Socalcycling Verify Trail Information?
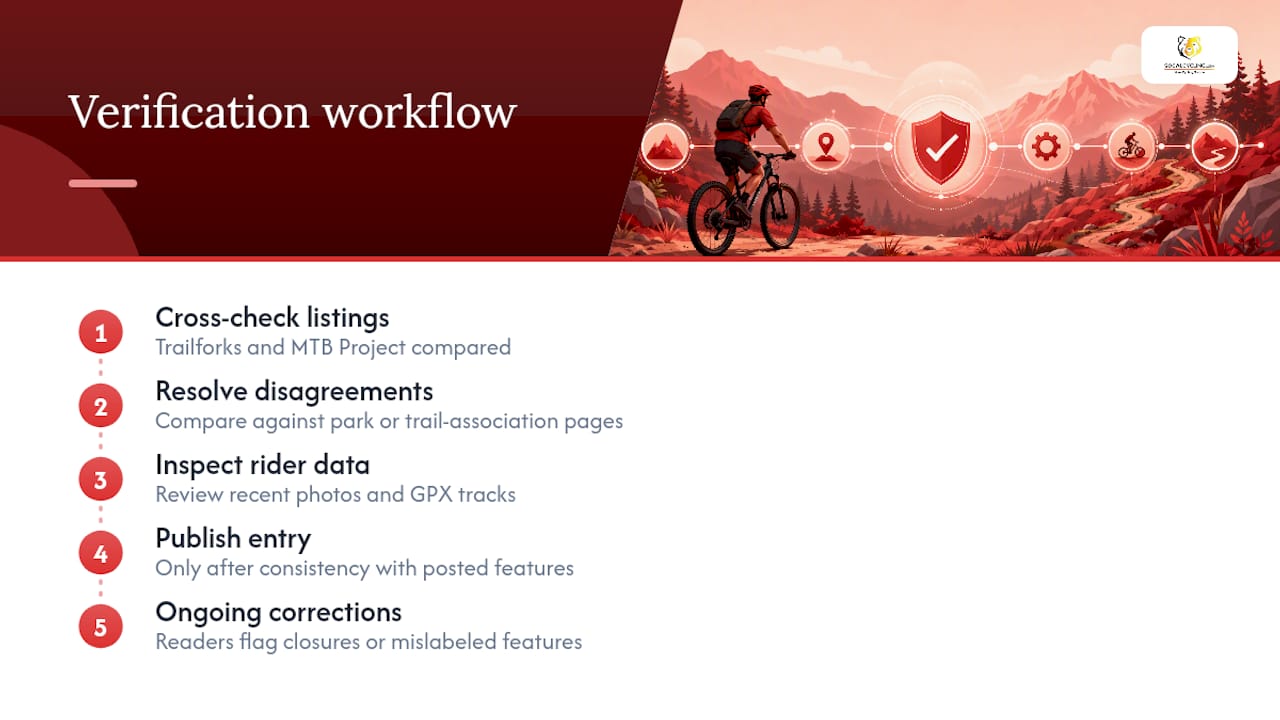
Socalcycling cross-checks trail details against Trailforks and MTB Project listings, then compares those against park or trail-association pages when the two sources disagree. Recent rider photos and GPX tracks get reviewed for consistency with posted feature lists before anything gets published. Coverage spans race results and athlete profiles alongside trail guidance, and readers who spot an outdated closure or a mislabeled feature are encouraged to flag it for a correction. Trail conditions change fast, and a listing is only as good as its last update.
How Would You Plan a Weekend Ride Near You?
Say you’ve got a free Saturday. Start by setting a 40-mile radius in Trailforks and filtering for intermediate singletrack. Cross-check the top result’s Strava heatmap to confirm it’s actively ridden, then scan the last three condition reports for washouts. A quick call to the nearest shop confirms parking is open and the gate isn’t locked. That’s the whole workflow, and it takes less time than packing the car.
— Socalcycling.com
Sources
- Trailforks — Offline bike maps (App Store)
- Santos Trailhead & Campground | Florida State Parks
- Vortex trail — MTB Project
Recommended
- How to Find Bicycle Riding Trails Near Me Right Now
- California Cycling Route Examples for Every Terrain
- 5 Sample Rides to Plan California Cycling Trips by Region