


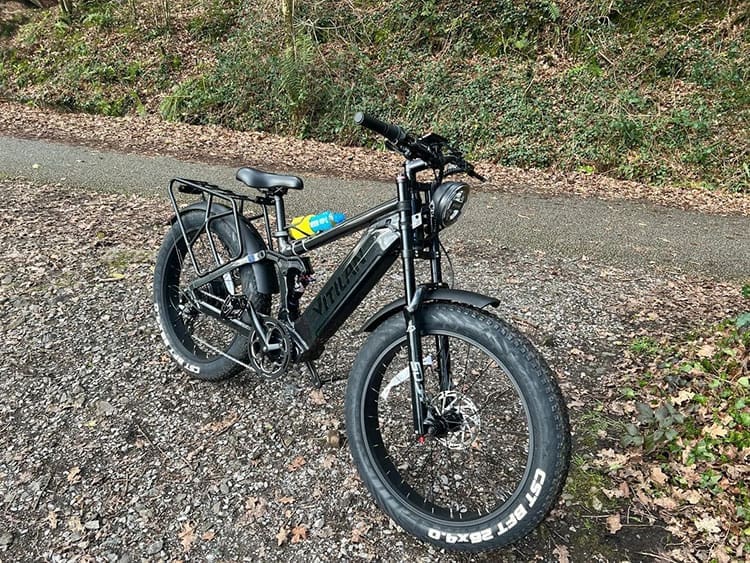
The paved road ends beside a river, but the route on your map continues into the trees. The gravel at the entrance looks firm and wide. Farther on, the path bends out of sight.
Before following it, ask what might lie beyond the bend: Can you steer and stop comfortably on this bike, and can you get back if the trail gets worse? Take a minute to look ahead, then test the bike at low speed on a short, open stretch. The entrance tells you only what the first few yards are like.
Not All Gravel Roads Ride the Same
Packed gravel may offer a smooth, continuous track. Around the next bend, the same road could be covered in loose stones that push your front wheel off line. Dry dirt can turn slippery after rain, ruts can catch a wheel, and exposed roots demand a clear choice of where to ride.
A slope makes those changes more consequential. A rock that is easy to avoid on level ground may leave little time to adjust on a downhill bend. Look beyond the section immediately ahead: Is the road narrowing? Can you see through the next turn? Is there room to stop or turn around? If you cannot tell what comes next, get off and take a look.
Start With the Bike You’re Riding
Crossing a short stretch of firm gravel on a commuter bike is different from spending an afternoon on a rough forest road. When comparing electric bikes for different riding needs, start with the roads you ride most often. At the gravel entrance, though, the decision comes down to the bike beneath you.
Check the manufacturer’s guidance on where it can be ridden. Look for visibly underinflated or damaged tires, make sure the brakes work normally, and secure anything carried on the bike. A loaded rear rack can change how the bike feels when turning or stopping. Riding one dry forest road last weekend does not mean a steeper route after rain will feel the same today.
Make a Low-Speed Check Where It’s Safe
Find a level, open section with room to stop. Enter slowly, use an assist level you can control, make a small steering adjustment, and brake gradually. You are checking the bike’s response, not trying to cross the gravel quickly.
- Steering: Does the front wheel follow your chosen line, or do loose stones keep pushing it aside? Constant corrections are a reason to avoid a narrower section.
- Stopping: Can you slow down while keeping the bike pointed where you want it, then stop where you intended? If not, stop and reassess.
- Surface: Is the track under your wheels firm and continuous? Deepening ruts, mud, or widespread loose gravel ahead mean the easy entrance is no longer a useful test.
Experience matters as much as the bike. A rider familiar with loose surfaces may handle a section differently from someone leaving pavement for the first time. If you are no longer confident you can stop where you need to, turn around before the trail forces the decision.
Check the Bottom Before Riding Down
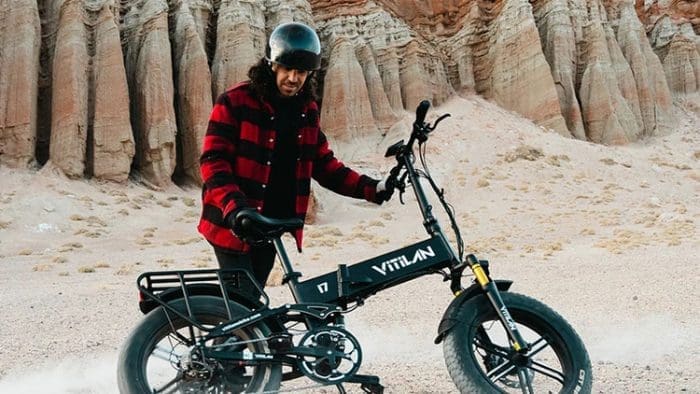
Stop in a safe spot at the top of a descent. Look for ruts, sharp turns, loose ground, and a clear place to slow down at the bottom. If you cannot see enough to judge the descent, walk ahead. If it is unsuitable, return the way you came.
The motor may help you climb, but it cannot provide grip or make the bike stop for you on the way down. Be wary of riding onto grass to bypass a puddle, too: a hidden rut, rock, or patch of mud may be harder to spot there than on the trail.
When Does an Off-Road E-Bike Make Sense?
If most of your rides are on city streets and you occasionally encounter smooth gravel, your immediate question is whether that section is rideable today. One gravel entrance need not redefine the kind of bike you need.
The calculation changes if your regular routes include long forest roads, loose climbs, repeated ruts, and extended descents. Riders who seek out those routes may want to compare off-road electric bikes for unpaved riding, then check each model against the terrain they actually use.
A wide forest road, a rolling dirt track, and a technical mountain bike trail present different demands. An “off-road” label does not make every bike suitable for every trail. Wider tires, suspension, and motor power cannot replace reliable braking or the ability to handle the route.
Know How You’ll Get Back
Before entering an unfamiliar section, identify places where you could turn around. A gentle descent on the way out becomes a climb on the way back. Wind or rain may change the return ride, while the range shown on a display can shift with terrain, assist level, and riding conditions.
Set a turnaround point in advance. When you reach it, reassess the time, battery level, and trail conditions, even if your destination is still ahead. Check whether your type of e-bike is permitted, too. A line on a navigation app does not establish trail access; consult the land manager’s information and signs at the entrance.
Save an offline map and carry a charged phone, water, and flat-repair supplies that suit your wheels. Let someone know roughly where you plan to go. These preparations give you more options if you need to turn back or deal with a mechanical problem.
The Decision at the Trailhead
If the surface is firm, the route ahead is visible, and the bike steers and stops as expected, continue slowly and keep reassessing. If you cannot see what comes next or control the bike comfortably, stop and take a look—or turn around.
Frequently Asked Questions
How should I pass hikers or horseback riders on a narrow shared trail?
Slow down early and let others know you are approaching with a bell or a polite call. Wait until they have noticed you and there is room to pass; do not accelerate past someone at close range. Take particular care around horses. Stop if needed and follow the horseback rider’s guidance, along with any posted trail rules.
Can I use a walk assist if a section is too steep to ride?
If your bike has walk assist, follow its manual and practice using it on level ground first. The feature helps while you push the bike from beside it; it does not make a steep or unstable place safe to walk. Controls vary by model, and some bikes do not have the feature.
Should I keep riding if I get a flat far from the paved road?
Stop somewhere safe and check the tire. If it has lost substantial pressure or will not stay seated on the rim, do not try to ride out. Whether you can repair it on the trail depends on the wheel, your tools, and your experience. A wheel with a hub motor can be more involved to remove.
If you cannot fix the flat safely, assess whether you can walk the bike to an exit without damaging the wheel further. If you cannot, arrange pickup from a safe location.